As simple as LEGO bricks: LG G2 dismantling for screen change
In many mobile phones, I like the LG brand. It doesn't matter whether it's a stick or not. It is mainly his attitude. That is to say, the millennium second child, but also tireless efforts, G2's back button, ultra-narrow frame; G3's 2K screen, laser focus; G4's quantum curved screen, more advanced LDAF laser focus, color spectrum sensor; G5 modular The structure and dual cameras; the V10's dual screen, has been a constant improvement.
LG does not have many people's attention, but still silent innovation is silently admiring.
Although there are a few brushes in the hands of helplessness, but it is a coincidence as a reed mouth, in the killing of the Chinese mobile phone market into the Red Sea to take a rest.
However, his publicity model, price positioning is still very old before the Nokia era of old routines, but also resentful of others.
Saying back to LG G2. Originally, the plane had been lying in my drawer for more than two years because of a broken screen. Until a few days earlier, my cousin burgled at home and the phone was stolen. When I asked for a spare machine, I remembered it. Plan to change screen. So I got this article
The G2 hasn’t been sold for several years, and it will be posted on the same G5.
 The G2 has a 2.5D front panel and an arcuate rear cover that gives it a very good feel and is comfortable to use when placed on the back button. As a 13-year machine, it is now very smooth to use.
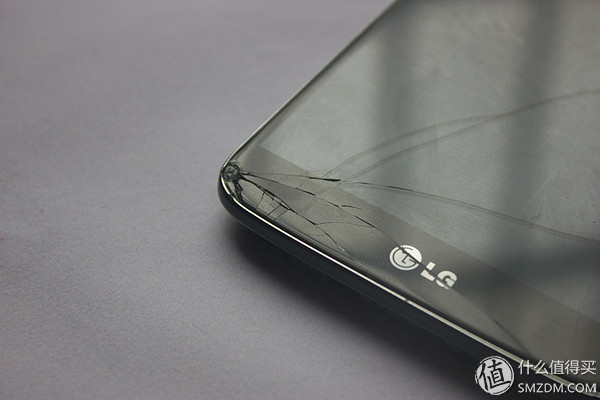 It is the bottom left corner, because I like the feel of this mobile phone, so I haven't brought it over and I accidentally fell into it. Also because I like this phone, I haven’t dealt with it.
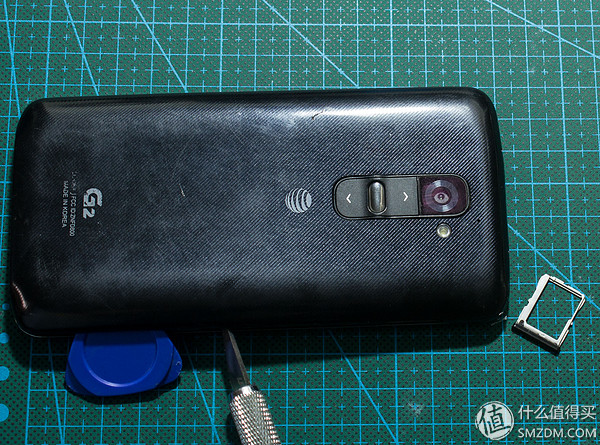
 The front cover is opened first, and the back cover is fixed by these buckles. It is easy to open with a crowbar.
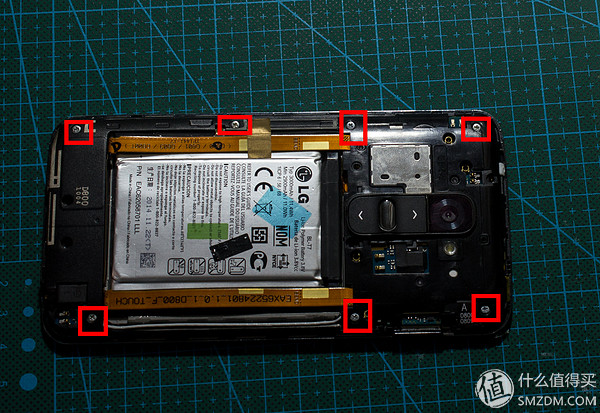 Remove the seven screws to see the circuit board inside.
 Next, on the accessories, there is no need for a screwdriver, and the dice can be removed.
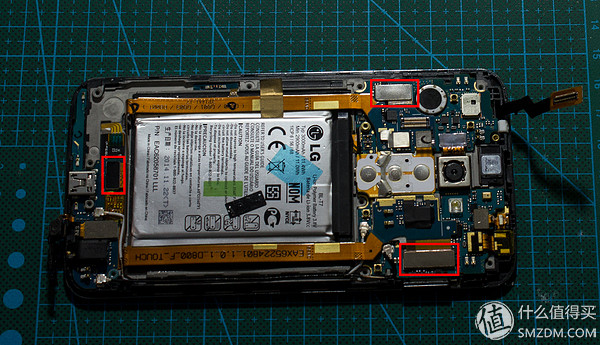
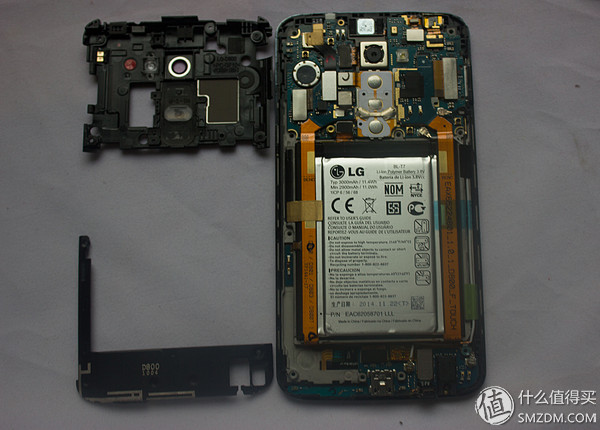
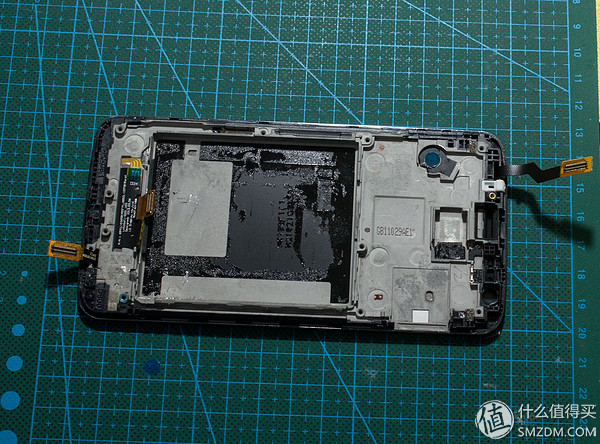
Almost no screws or glue were used here (except batteries, cameras, and vibration motors), but they were fixed and connected by cables, and then fixed by the inner shell. Quite convenient to repair and replace accessories.
One by one picks up the cable interface.
 When you open the cable, you can remove the button layer. Pay attention to the tape on the battery. Gently tear open, do not pull hard.
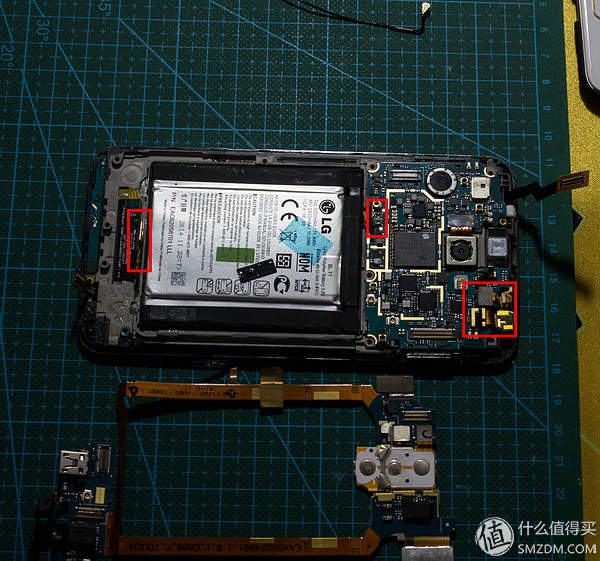 Then use the tweezers to open the line marked with the red line. In this way, most of the components can be detached. Since the battery is glued, it's okay to lightly tear.
 Accessories family portrait. The next step is to tear down the screen.
 Need hair dryer (hot air gun), dice, crowbar (film), screwdriver (with a prefix), and bank cards.
 First blow a small part of the hot screen, about ten seconds is fine, there are loose inserts.
 Every time you blow a place, isolate the screen and frame with the appropriate thing.
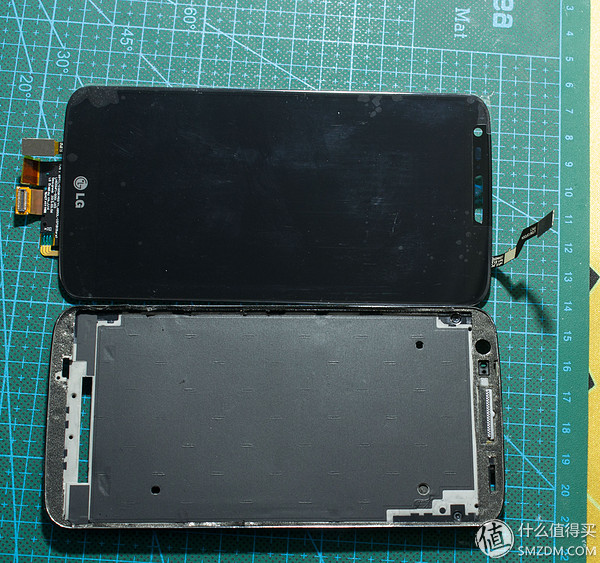
 After blowing out for a week, you can open the glass. Those black silks are glues, no tubes.
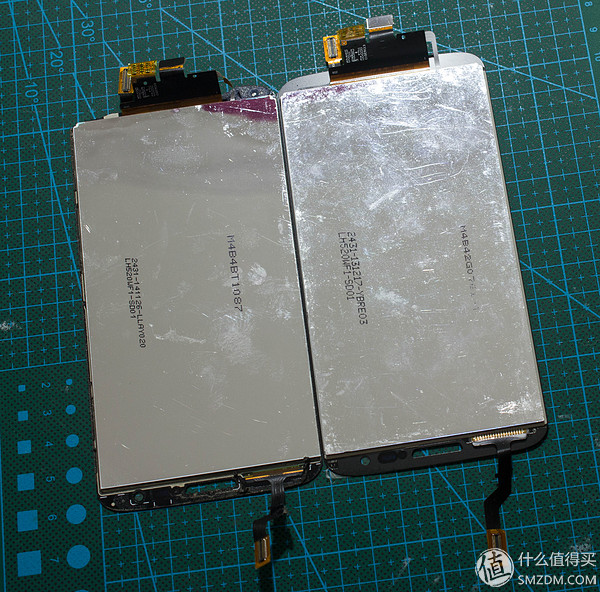
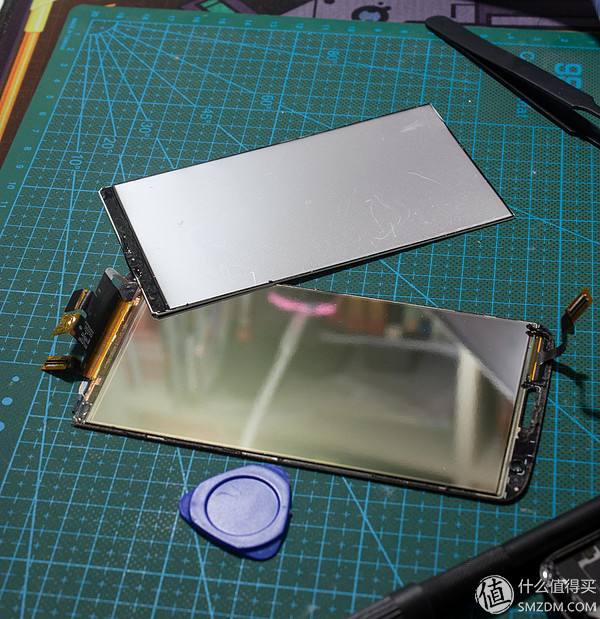 Slowly peel off the screen. This is the screen.
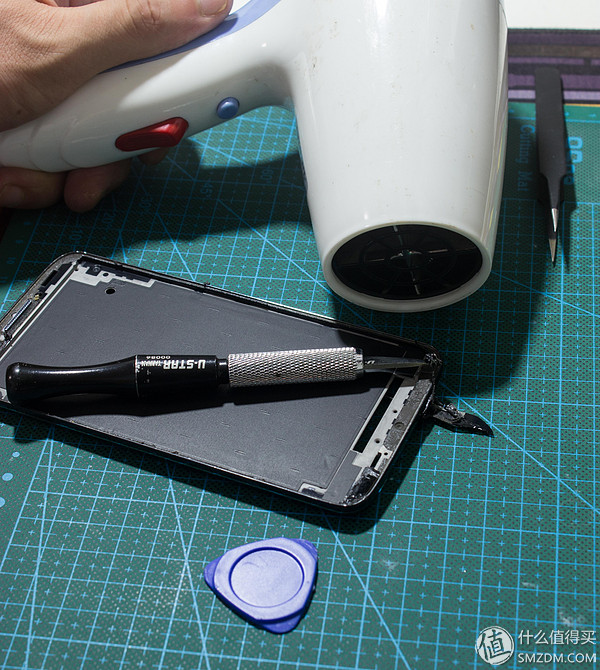 Then there is the vinyl that handles the border. I use a push knife, but I can also use a small blade instead. Use a hair dryer to blow the tape soft (because it's not a hot air gun, don't blow the hair dryer to a place and blow it for a few seconds). Slowly remove the softened rubber with a push knife.
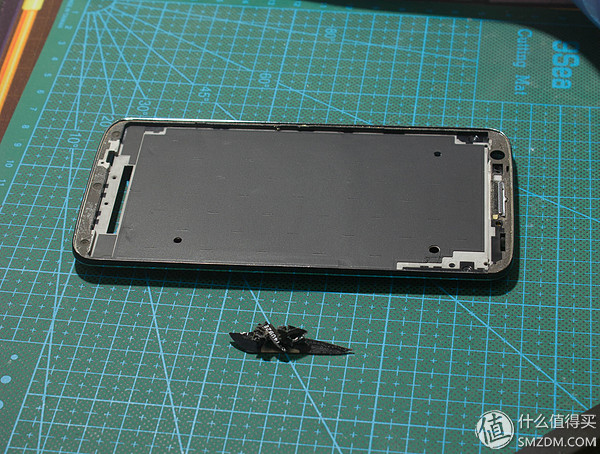 After the finish. Pay attention to cleanliness and patience. If there is a residue, it will cause the rear screen to be installed to cause the screen to be uneven.
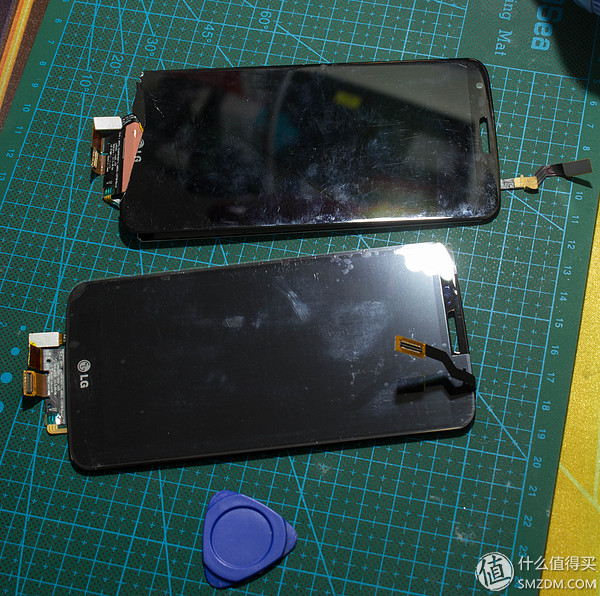
Newly purchased screen debut! Did not go to investigate is not original, after all, just temporarily use it.
Given the link address for the richest family, you can find it yourself.

Put the screen first and take out this thing. This is the vinyl we just removed. Now stick back as it is. Here, vinyl is also prepared for the detached components. In addition, the concave part of the red box was trimmed with a pencil sharpener and kept in reserve.

Keep in mind that if you stick only the original vinyl part and the rest do not have vinyl, cut the existing excess. Because there is no guarantee that the glue that comes with the original is tightly bound.
 After attaching the screen, put the screen on it. Be careful to insert the position of the cable and then glue the screen.
 With the screen facing down, let's say it for half an hour.
 And then remember those vinyls that were cut down and stuck to a few components. Reinstall vibration motor, camera, speaker, sensor and other small components, and tighten it hard.
 Then cover the motherboard and stick the battery. Connect the wires of each small component to the motherboard. (The battery cable is finally connected again)
 Simply install them in order and connect the corresponding cable connectors.
 Connect the battery and attach the inner cover, which is 90% complete.
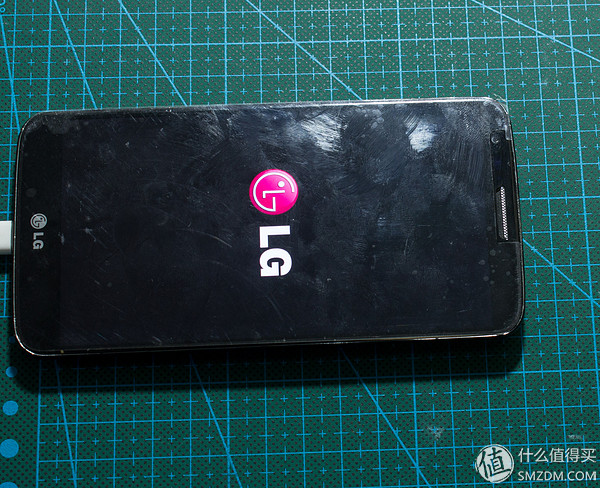 Turn over and boot! OK, bright screen, 95%.
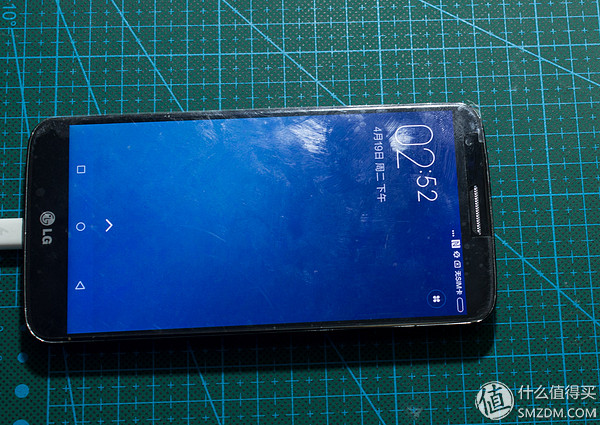 Then test the touch and try it in all corners. Successfully unlocked into the main interface. Put on the back cover and tighten it!
At this point, a mobile phone is perfectly resurrected.
The mobile phone is a highly integrated electronic device, and LG can make him so simple, stacking Lego as a mobile phone, that is, a novice Xiaobai, as long as they dare to dismantle the first step, but also be able to do their own Replace all accessories that seem to be.
Dismantling the LG G2 is much simpler than dismantling the IPAD. The IPAD has a large amount of glue fixed and has a higher degree of integration. It is a bit difficult to reconstruct exactly the same in many places.
This is how I appreciate LG. It hasn’t been noticed by many people but it has been hard work.
Come on! LG!
Current Type Voltage Transformer
Current Type Voltage Transformer,Mini Voltage Transformer,Current Voltage Transformer,Mini Encapsulated Voltage Transformer
Zibo Tongyue Electronics Co., Ltd , https://www.tongyueelectron.com