DIY ergodox keyboard puppies eggs
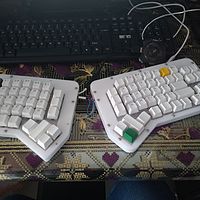
Having done one before, feeling a bit large, the above numeric keys and the following control keys are canceled, leaving only the control keys and thumb keys on both sides. This time, the shell was made to be as small as possible. The consequence was that the master of the keyboard had to have a tail, which we will introduce later.
 DIY II Dog Eggs - ErgoDox Keyboard began tossing recently. At home on a certain day, suddenly discovered a keyboard ergodox, or split, and suddenly touched my drawing dog's nerves, Baidu's, but in the bag of shame, The idea of ​​oneself was created, and for a long time, the information was found. Inspired by this article, he started his own toss. The cost budget is not working at home and there is no income, so be sure to lower your costs and temporarily consider it below 260. a Like 9 Comments 15 Collections 37 View Details Open
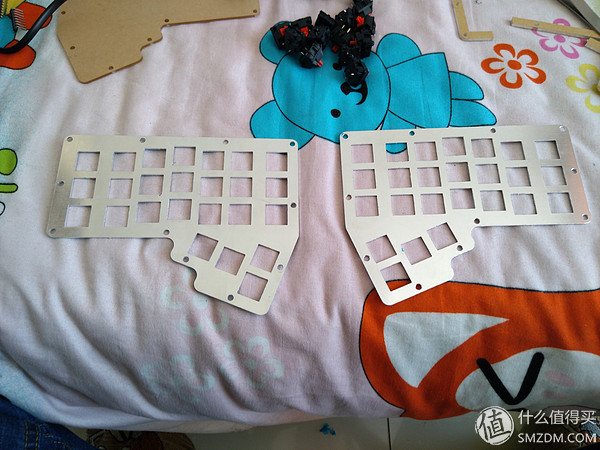
This time, instead of using acrylic as a positioning plate and using aluminum plates, it is more solid and feels different. Of course, the money is not the same.
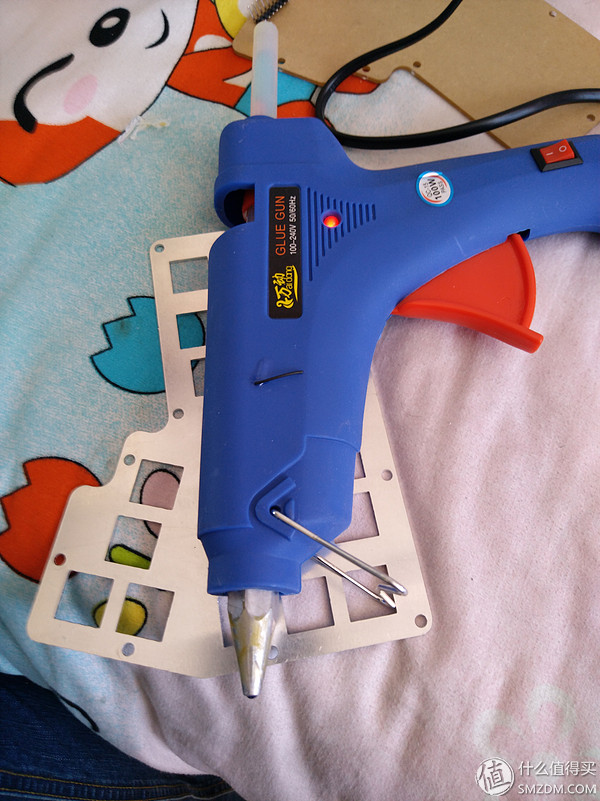
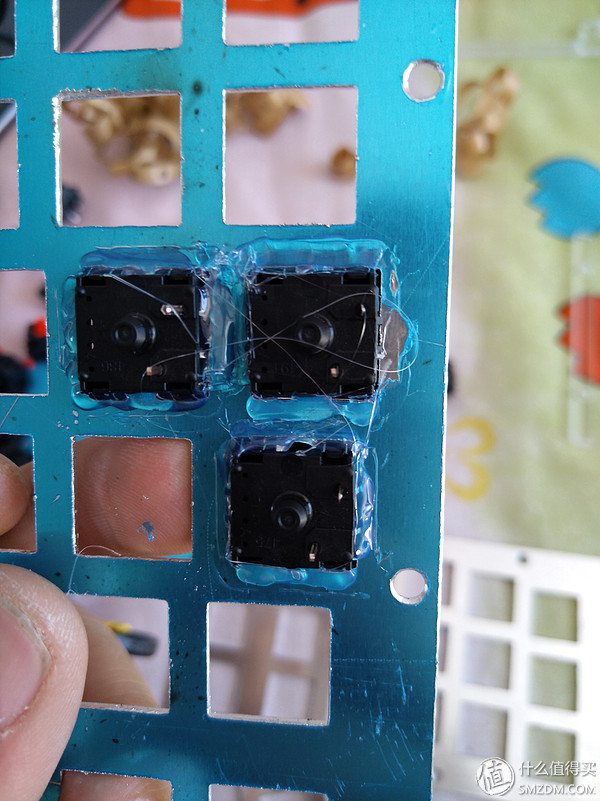
 The shaft body is fixed. Because the heat conductivity of the metal is good, the fixing time of the hot melt adhesive is very short, and it is necessary to fasten the eye, and before fixing, preheat the fixing plate.
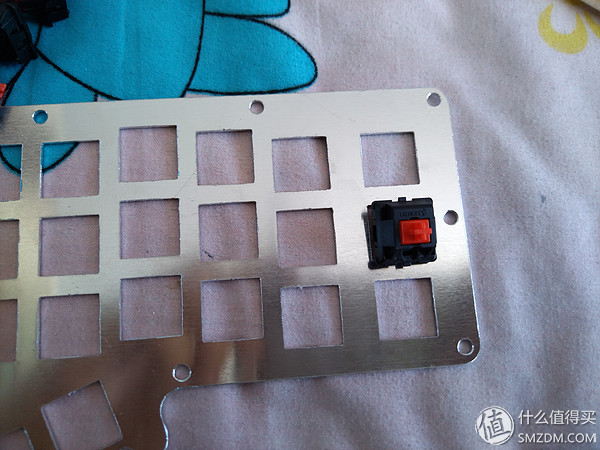
 The main axis of the key is the red axis of cherry, and the domestic red axis used in other positions.
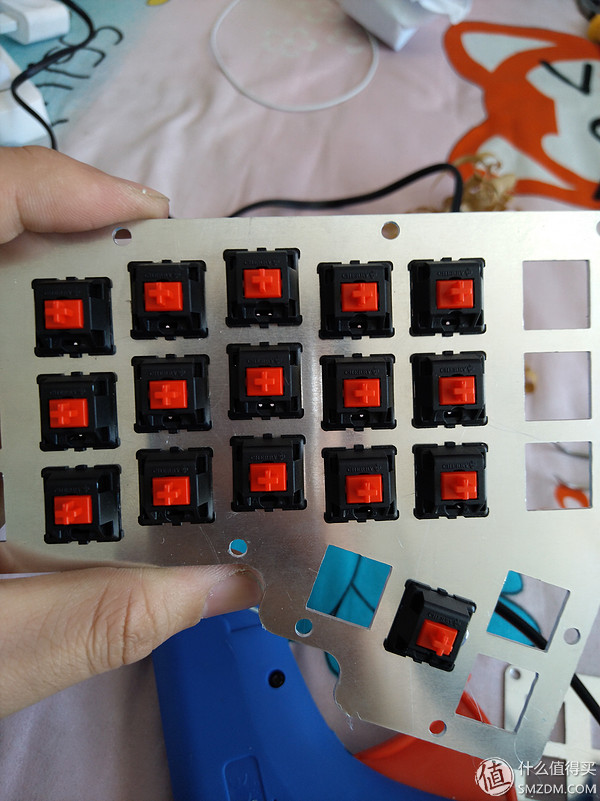
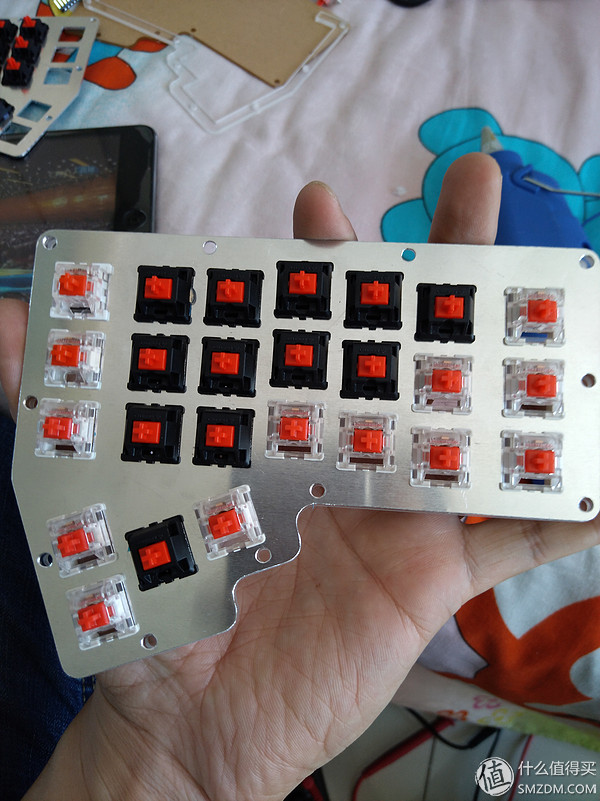
The specific ones will not be released, and the shaft is fixed like this.
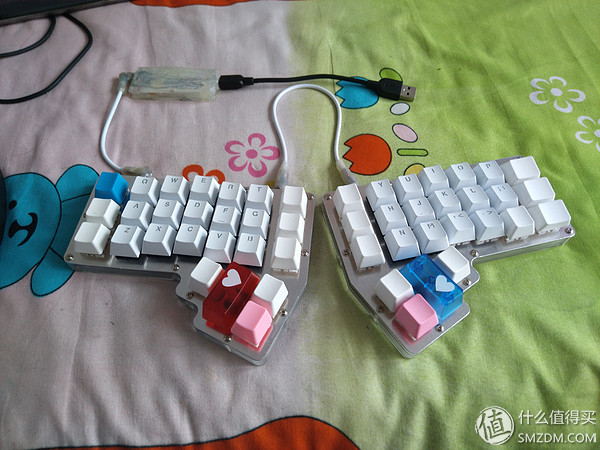
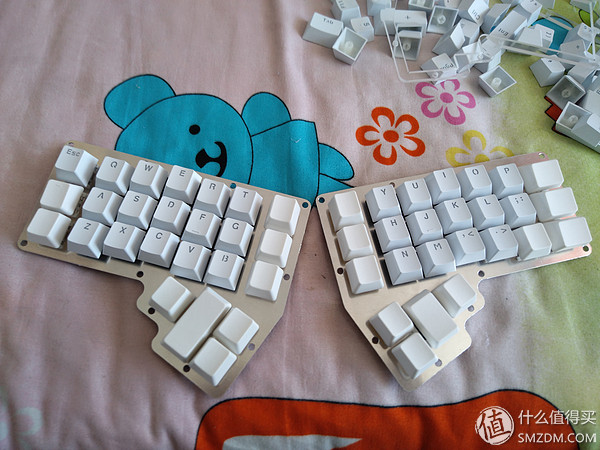 Press the keycap first, a little tax evasion (pleasure). Let's start the scanning circuit.
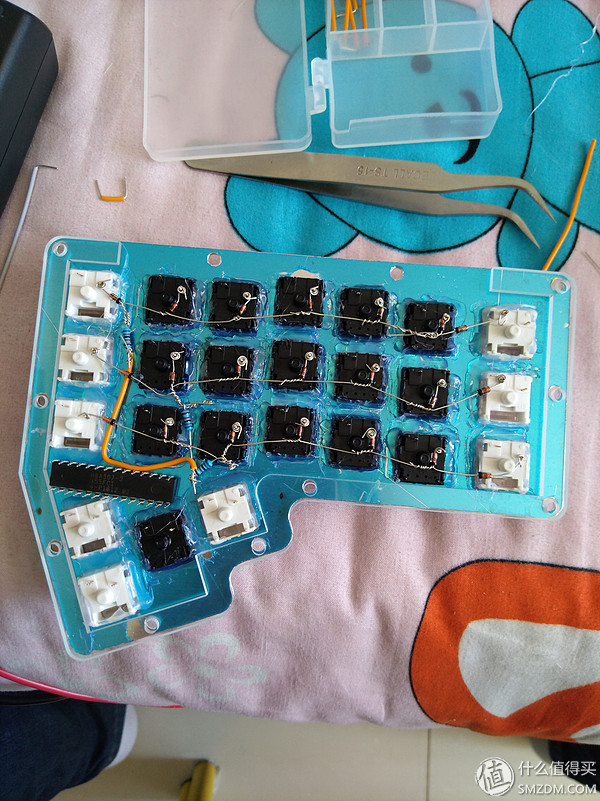

Directly to the line are soldered to the chip, two keyboards a mega8l, a mega328p, in fact, the original idea is to use mega8l, but do not know how to make, does not support the soft serial port, there is a change to 328p. The circuit itself is actually very simple. All the tutorials I mentioned last time are not worth it.
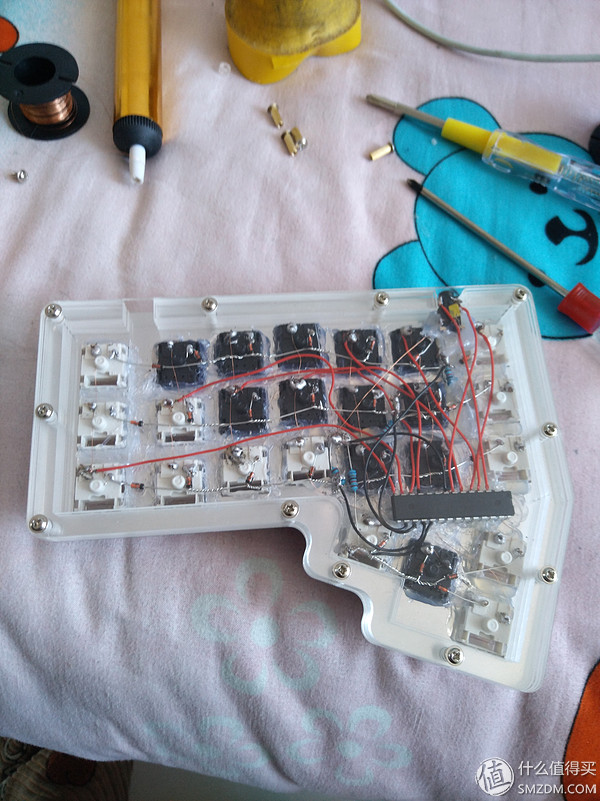
Solder the interface and fix the master. Please do not spit this soul-level fly line. (You can't see it anyway, but you can fix it with hot melt adhesive.)

It is the same for both left and right, just scanning the keys and sending it to the arduino pro micro using the serial port.
I mentioned that the keyboard is small, but we did not do pcb, Arduino pro micro can not put in, and can only be the same as the A third brother train, buy a hanging ticket here, hanging out. . .
The cable is also made directly by the hot melt adhesive. It is a bit hard.
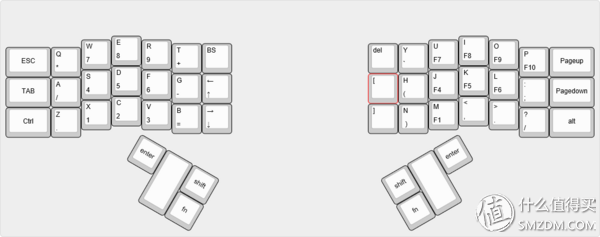
The key position is like this for a while. The brain is a little messy. Change it later. Welcome everyone to comment.
Here's a statistical cost
Housing and positioning plate 110
Shaft 80
Keycap 30
Arduino pro micro 17
Atmega8l 3
Atmega328p 8
The total is probably 250.
Disadvantages:1, the cost is large, this price can buy a cherry axis domestic keyboard.
2, long time, fly line trouble.
3, the repair is troublesome, hot melt adhesive fixed, repair is not easy.
4, durability is unknown.
5, no satellite shaft.
6, the key cap does not look good.
Here are two words, I am engaged in civil engineering, that kind of earth and wood. Although I am also very interested in the microcontroller, but also want to learn 51 microcontroller, but later gave up, and later met Arduino, watched three days of video, found that simple, what libraries are, and arduino pro micro mega32u4 still Direct simulation USB keyboard and mouse, directly used as master, only 17 dollars, just conscience. If you don’t have enough io mouths or want to split your keyboard, buy an extra atmega8l (3 blocks) and usbtinyisp (20 blocks) and learn the fuse bit a bit. Make the internal crystal of atmega8l 8Mhz, although the accuracy of the crystal oscillator is not High, but there is no problem working under the low baud rate serial port. I hope it will help everyone.
The next time, I will use a mouse to control the fn layer of the keyboard. For the time being, there are two options: directly modifying the mouse or intercepting the mouse operation with software. When this specific time comes, it can be said that it is not good, and it is possible to abandon the pit. Get it out and share it with you again.
The lightweight and compact CoreHub-C is very compact and can easily plug in the USB Type-C port on your laptop. You won't even realise that there is an integrated Type-C USB Hub that lets you ensure all the ports you get on using your laptop etc. Corehub - using USB 3.1 Type c - c charging interface three USB 3.0 port HDMI port Ethernet port and an SD/list and microSD card reader integration charging port you do not need to apply only to failure because of this Type - c USB hub port includes a charging bridge "can even let your laptop computer charging with other ports Plug and play just insert USB 3.1 corehub - c adopt new Type - c Port and enjoy a seamless connection to your laptop
Hub Adapter,Hub Centric Adapters,Hub Converter,Dually Hub Adapter
CHANGZHOU LESEN ELECTRONICS TECHNOLOGY CO.,LTD , https://www.china-lesencable.com